“Learning how to dispute errors on your CIBIL report is not just a ‘good idea’—it is your fundamental right to an accurate financial identity.” – Anwar Hashmi
Your Right to an Accurate Credit Report
The Hidden Anchor: How a Single Error Can Wreck Your CIBIL Score
Imagine this: you’ve spent the last two years diligently paying every bill on time. You’ve kept your credit card balances low and have been a model borrower. You confidently walk into a bank to apply for your dream home loan, only to be told your application is rejected due to a “low CIBIL score.” It’s a confusing and deeply frustrating moment.
After digging deeper, you discover the culprit: a late payment reported on a loan that doesn’t even belong to you, or a credit card you paid off years ago still showing a massive outstanding balance. This is not just a hypothetical scenario; it happens to thousands of hardworking Indians every year.
A single, significant error on your credit report can act like a hidden anchor, artificially pulling down an otherwise healthy score. It is a silent score-killer that can cost you lakhs in higher interest rates or, worse, block your access to credit altogether. This is why knowing how to dispute errors on your CIBIL report is one of the most powerful financial skills you can possess.
What This Guide Will Show You
My name is Anwar Hashmi, and at cibilized.in, my mission is to replace financial anxiety with clear, actionable knowledge. This is a complete, step-by-step walkthrough of the entire CIBIL dispute resolution process.
We will cover everything from identifying the errors, gathering the right evidence, navigating the online portal, and even what to do if your dispute is unfairly rejected. This is your definitive guide on how to dispute errors on your CIBIL report and reclaim control of your financial narrative.
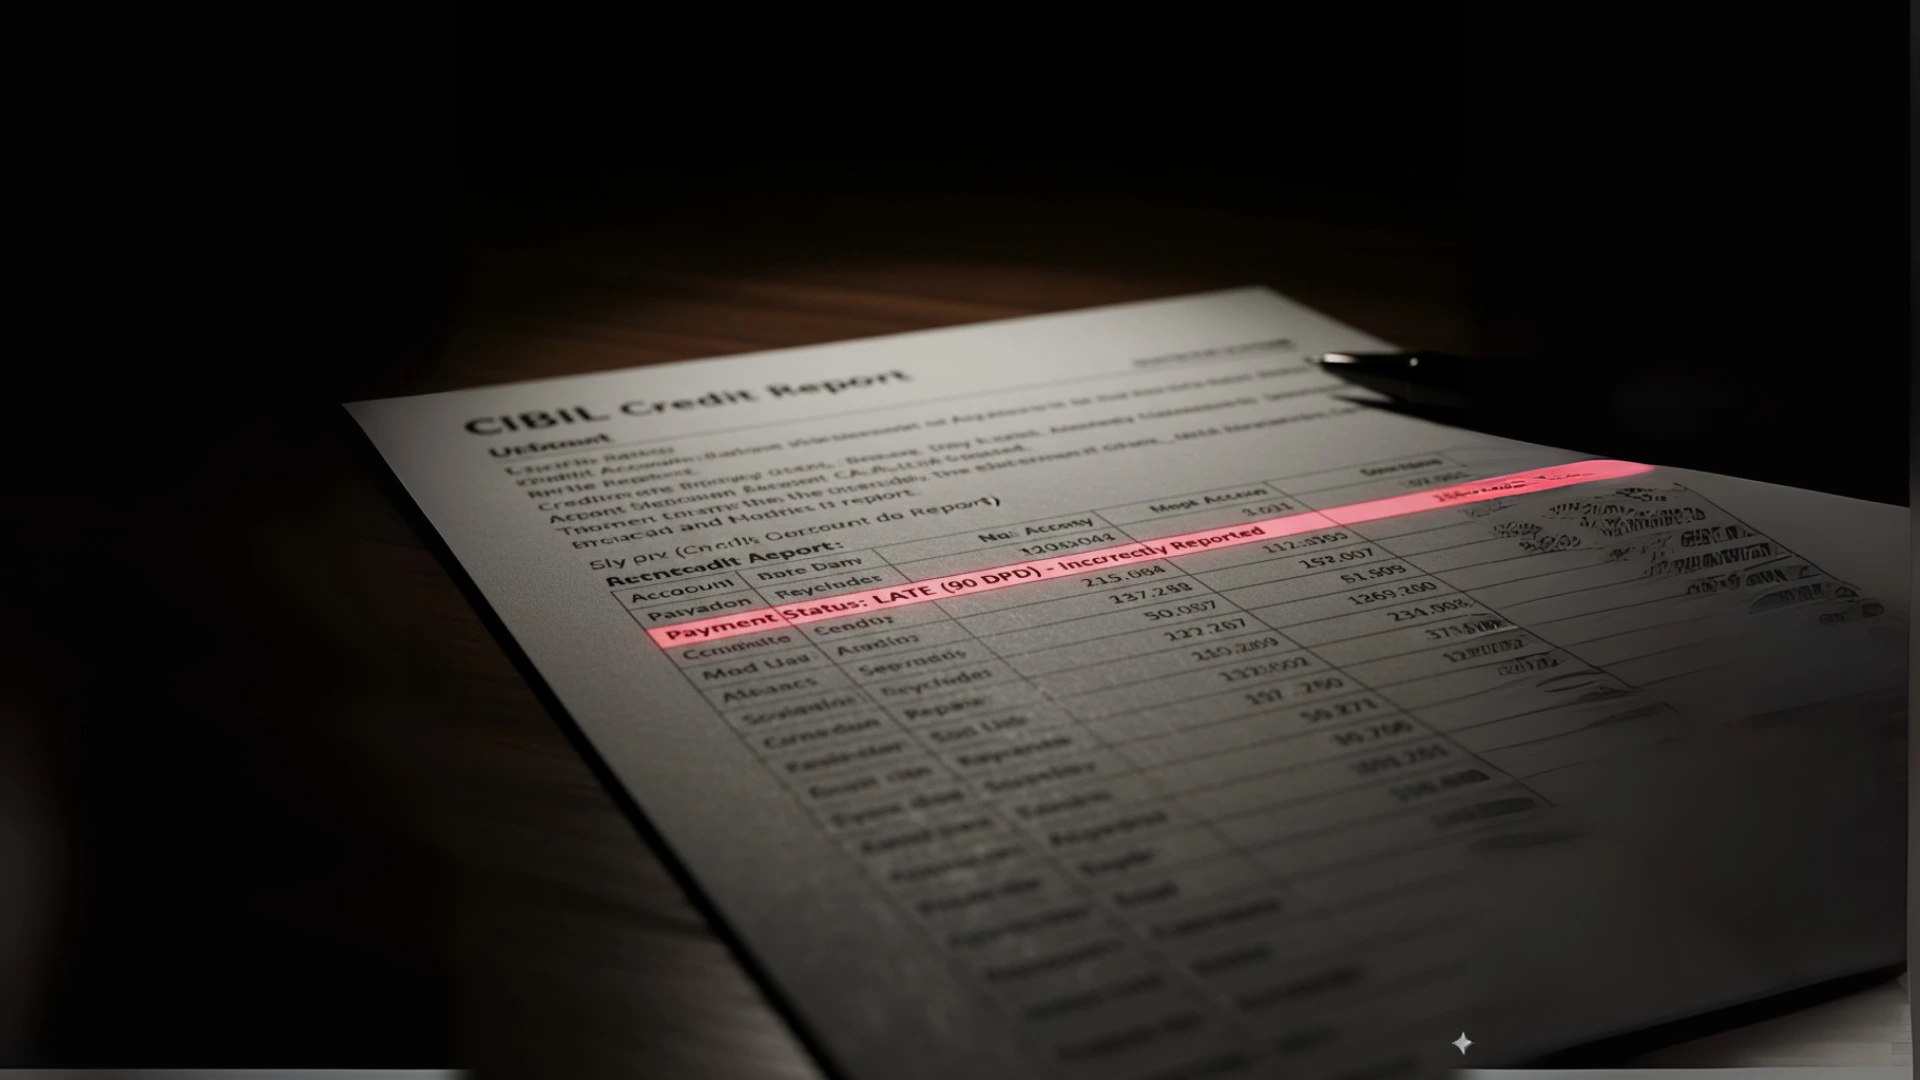
[Image Suggestion: A dramatic, high-quality image of a person’s hands holding a magnifying glass over a CIBIL report, with a specific error highlighted in red. Alt Text: A person closely inspecting their CIBIL report to find errors, the first step in the dispute process.]
Before You File: Your Pre-Dispute Preparation Checklist
A successful dispute is won long before you ever log in to the CIBIL website. It is won through meticulous preparation and solid evidence. Rushing into the process without being prepared is the most common reason disputes get rejected. Before you begin, you must complete this crucial preparation phase.
Identifying Disputable Errors on Your CIBIL Report
First, you need to know exactly what you’re looking for. A “disputable error” is any piece of information on your report that is factually incorrect. Here is a detailed breakdown of the common errors you should be hunting for.
Inaccuracies in Personal Information
This is the most basic but crucial check. An error here can sometimes link your file with someone else’s, meaning you are being penalized for their financial mistakes.
- Check for: Incorrect name spellings, wrong address, an old phone number, or, most critically, an incorrect PAN number.
H4: Incorrect Account Ownership
This is a major red flag and could be a sign of fraud or identity theft.
- Check for: Any loan or credit card listed in the “Account Information” section that you have never opened. If you see an account from a lender you’ve never dealt with, it needs to be disputed immediately.
Errors in Account Status
The status of your accounts has a huge impact on your score.
- Check for: A loan or credit card that you have fully paid off but is still showing as “Active” or “Outstanding.” It should be marked as “Closed.” An incorrect active status can artificially inflate your total debt and lower your score. Look out for accounts wrongly marked as “Written-Off” or “Settled.”
Inaccurate Payment History
This is the most common type of error and the most damaging.
- Check for: The 36-month payment grid (DPD). If you have proof that you paid a bill on time but the report shows a DPD mark (e.g., “030”), this is a serious error that is directly pulling your score down.
Gathering Your Evidence: The Key to a Successful Dispute
CIBIL acts as an intermediary. They will take your claim to the lender for verification. The stronger your evidence, the faster and more successful your dispute will be.
Your Pre-Dispute Document Checklist
- For Incorrect Account Status: A “No-Dues Certificate” or “Loan Closure Letter” from the lender. This is irrefutable proof that the account is paid off.
- For Incorrect Late Payments: A copy of your bank statement clearly showing the payment was made before the due date. A payment receipt or a confirmation email can also work.
- For Fraudulent Accounts: A copy of the official police report (FIR) you filed for identity theft.
- For Inaccurate Balances: Your latest credit card or loan statement showing the correct outstanding balance.
Organizing these documents beforehand is a critical part of learning how to dispute errors on your CIBIL report effectively.
The CIBIL Dispute Resolution Process: A Step-by-Step Walkthrough
Once you have your evidence ready, you can confidently begin the formal process. Here is your step-by-step guide to navigating the official CIBIL dispute portal.
Step 1: Accessing the Official CIBIL Dispute Portal
First, log in to your personal CIBIL dashboard. From there, navigate to the “Credit Report” section and then find the “Raise a Dispute” or “Dispute Centre” option. This will take you to the online dispute resolution platform.
Step 2: Filling Out the Online Dispute Form
The form is structured to be user-friendly. It will guide you through the process.
- Selecting the Disputed Section: You will first be asked to choose the section of your report that contains the error. For most issues, this will be the “Account Information” section.
- Specifying the Exact Error and Providing Your Justification: The system will show you a list of your credit accounts. You will select the specific account that has the error. You will then be given a dropdown menu to choose the type of error (e.g., “Incorrect Payment Status,” “Account does not belong to me”). In the justification box, be clear, concise, and professional. Stick to the facts. For example: “This account was fully paid on [Date], and the status should be ‘Closed,’ not ‘Active.’ I have attached the Loan Closure Certificate as proof.”
Step 3: Submitting Your Dispute and Getting a Control Number
After filling out the details, you will have the option to upload your supporting documents. Once you submit, CIBIL will provide you with a unique Control Number (or Dispute ID). This number is incredibly important. Save it somewhere safe, as you will need it to track the status of your dispute. The entire process of learning how to dispute errors on your CIBIL report hinges on this formal submission.
What Happens Next? Understanding the 30-Day Resolution Timeline
After you click “submit,” you may feel like your request has gone into a black box. Understanding what happens behind the scenes can help manage your expectations.
The Investigation Phase: How CIBIL Verifies Your Claim
CIBIL does not unilaterally change your report. They are legally required to act as a neutral intermediary. They will take your dispute and forward it directly to the lender (the bank or NBFC) who originally reported the information. The lender then has to investigate the claim on their end and respond to CIBIL with their findings.
Tracking Your Dispute Status
You can use the Control Number you received to check the status of your dispute at any time through the CIBIL portal. It will typically show as “In Progress” or “Under Investigation” until a final decision is made.
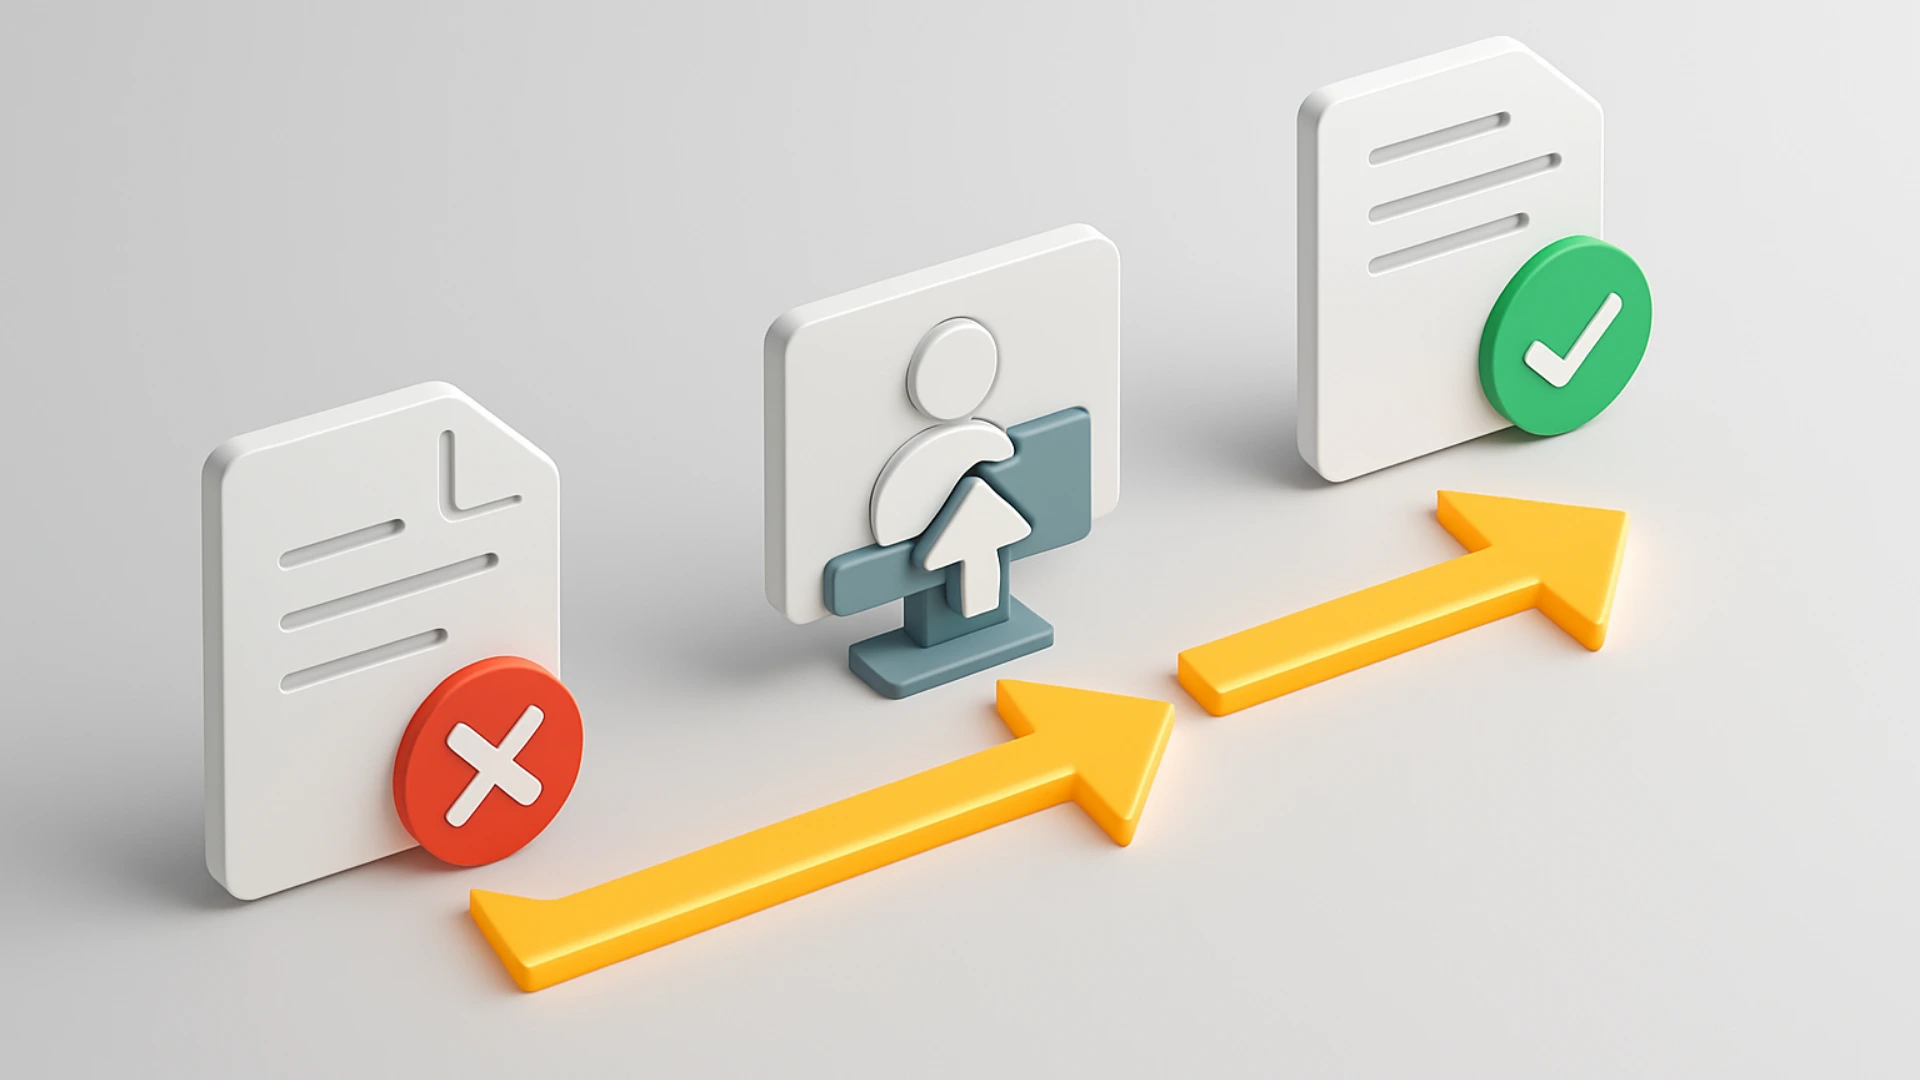
Understanding the Potential Outcomes
After the 30-day investigation period, you will receive an email with the outcome.
- Dispute Accepted: This is the best-case scenario. It means the lender has agreed with your claim, and CIBIL will update your credit report. The correction should be visible on your next CIBIL report, and you should see a positive change in your score.
- Dispute Rejected: This means the lender has contested your claim and has provided CIBIL with data that supports their original reporting. If you believe your claim is valid, this is not the end of the road.
My Dispute Was Rejected! Your Strategic Next Steps
Receiving a “Dispute Rejected” email when you are certain there is an error can be incredibly disheartening. But do not give up. This is where you escalate the issue.
Why a Legitimate Dispute Might Be Rejected
The most common reasons for a rejection are either a lack of sufficient evidence on your part or the lender simply re-submitting their own incorrect data to CIBIL. At this point, your issue is no longer with CIBIL; it is with the lender.
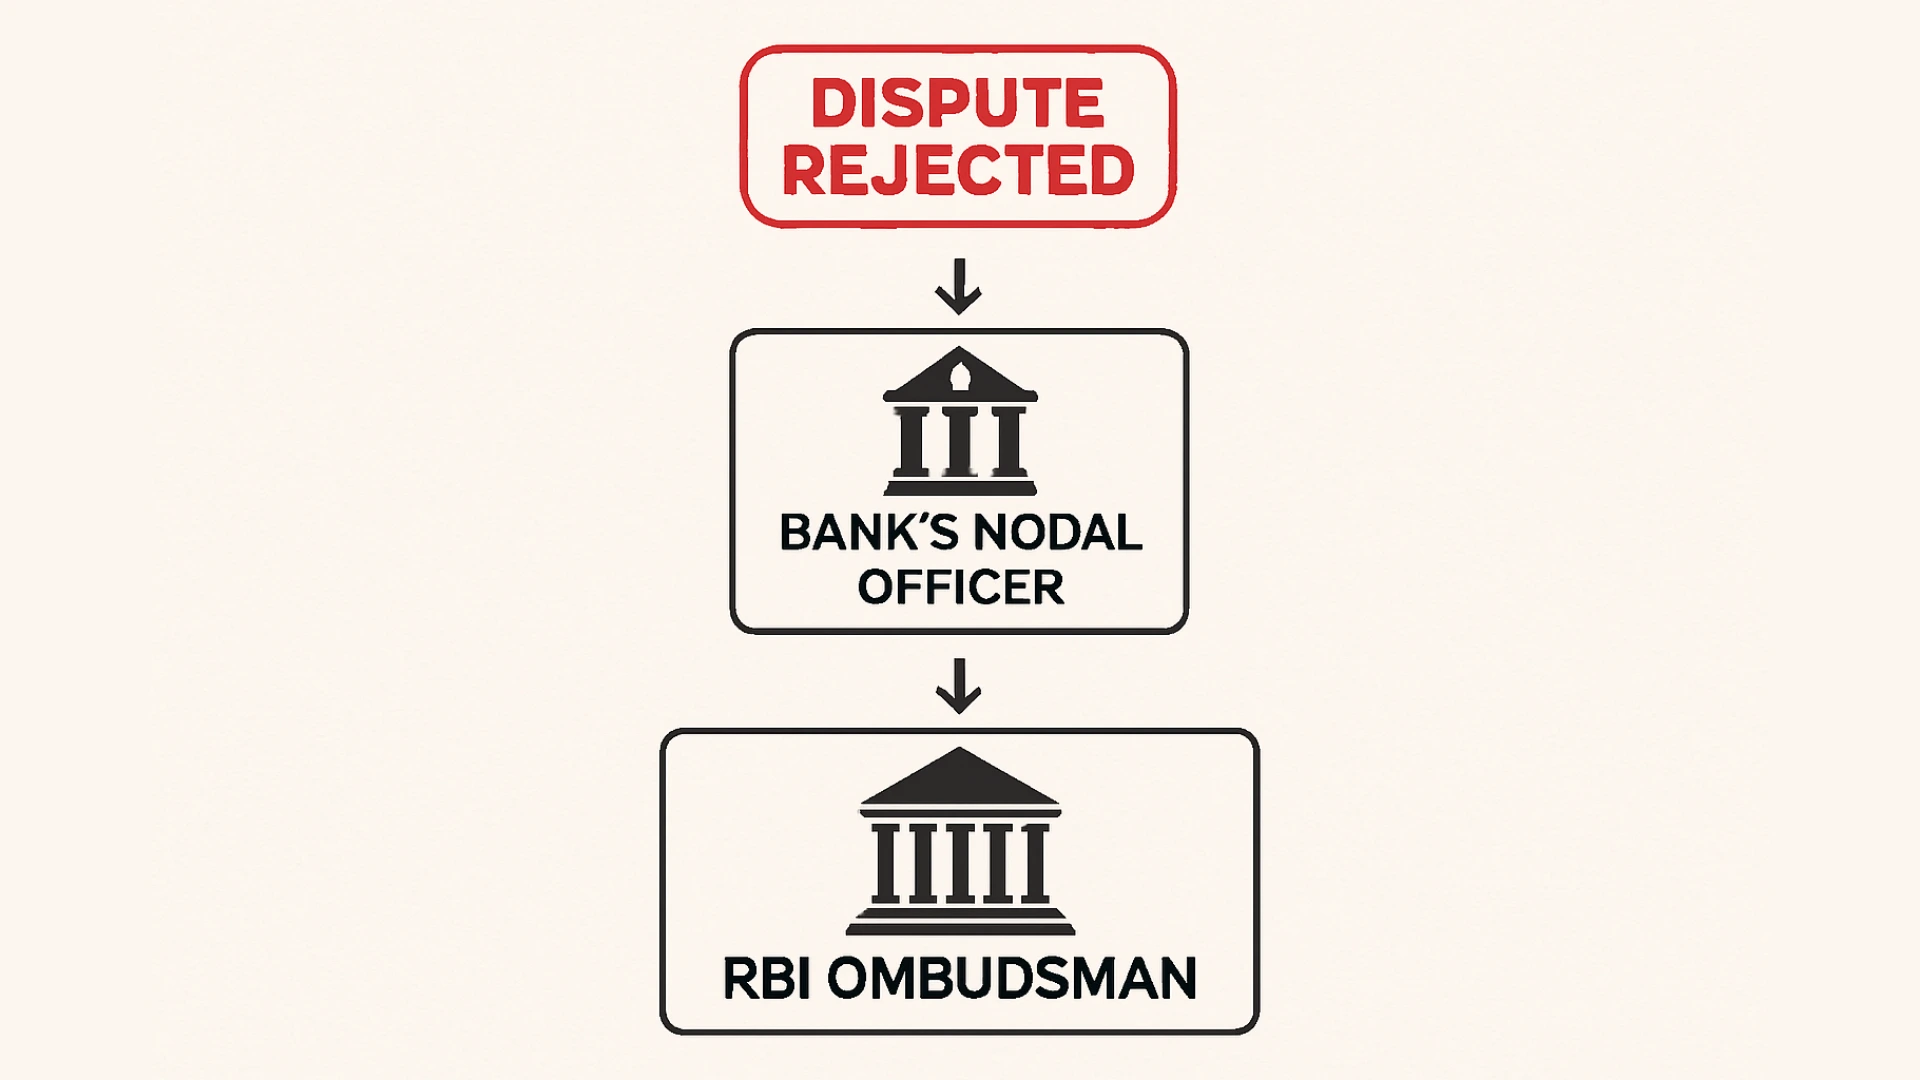
The Escalation Path: Moving Beyond CIBIL
If you have irrefutable proof of an error, you have a clear, formal escalation path.
- Step 1: Contacting the Bank’s Nodal Officer: Every bank in India has a designated Nodal Officer for handling customer grievances. You can find their contact details on the bank’s website. Draft a formal email to the Nodal Officer, clearly explaining the issue, stating that your CIBIL dispute was rejected, and attach all of your supporting evidence.
- Step 2: Escalating to the RBI Ombudsman: If the Nodal Officer does not resolve your issue within 30 days, you can then escalate the complaint to the RBI’s banking ombudsman. This is a senior official appointed by the RBI to resolve customer complaints against banks. It is a powerful, free-of-charge service that can provide a final resolution.
Knowing this escalation path is an advanced part of understanding how to dispute errors on your CIBIL report. Now that your report is accurate, it’s time to build on that clean foundation. Read our main pillar post: The Ultimate Guide to Improving Your CIBIL Score.
Frequently Asked Questions About the CIBIL Dispute Process
1. What is the most important first step in how to dispute errors on a CIBIL report?
The most crucial first step is gathering irrefutable proof, like a loan closure certificate or bank statement showing a timely payment. The entire process of how to dispute errors on your CIBIL report becomes much faster and more effective with strong evidence. This documentation is the foundation for learning how to dispute errors on your CIBIL report successfully.
2. What is the official timeline for the CIBIL dispute resolution process?
The RBI mandates a 30-day resolution timeline from the date you file your case. CIBIL is legally required to investigate with the lender and provide a final resolution within this period. This official timeline is a critical component of understanding how to dispute errors on your CIBIL report, ensuring your case is handled promptly and you know how to dispute errors on your CIBIL report without endless waiting.
3. What is my next step if my CIBIL dispute is rejected by the lender?
If your dispute is rejected, your next step is to escalate the issue directly to the bank’s Nodal Officer, and then to the RBI Ombudsman if necessary. This advanced step in how to dispute errors on your CIBIL report is necessary when the lender incorrectly verifies the data to CIBIL. Don’t give up; knowing how to dispute errors on your CIBIL report sometimes means going beyond the first step and following the full escalation path.
4. Are documents mandatory for how to dispute errors on a CIBIL report?
While you can technically raise a dispute without documents, providing them is highly recommended and makes your case much stronger. Submitting clear proof is the most effective way of how to dispute errors on your CIBIL report. Without documents, the process of how to dispute errors on your CIBIL report relies solely on the lender’s records, which may be the original source of the error.
5. Is there a time limit on how to dispute errors on a CIBIL report that are very old?
No, there is no time limit for disputing an error once you have discovered it. The process of how to dispute errors on your CIBIL report applies to any inaccuracy, regardless of its age. The key to learning how to dispute errors on your CIBIL report is proving the information is factually wrong, not when the error occurred.

Author
This guide was written by Anwar Hashmi, the founder and Chief Editor of cibilized.in. He is a financial writer who excels at making complex financial systems simple, providing expert, data-driven guides on the Indian CIBIL score. For insights on U.S. finance, he is also the lead author at ClaimCredits.online, specializing in USA Tax Credits.


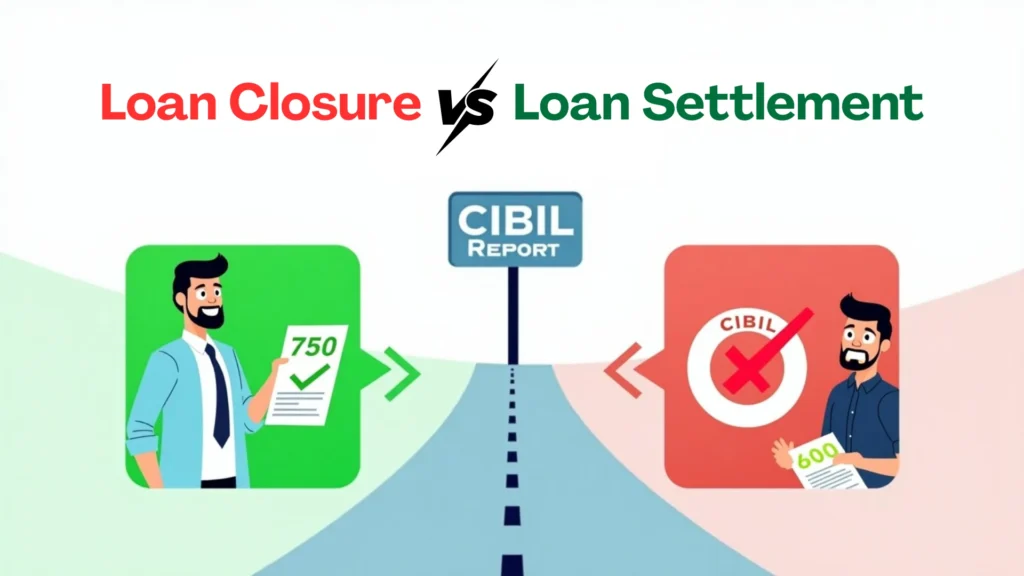
Pingback: Loan Settlement vs Loan Closure Credit Report: Shocking Truths 25-26 - CIBILized
Pingback: What to Do After Credit Card Application Rejected: Best 3 Step Solution - CIBILized